How to adjust sewing patterns for projector sewing

Keep Reading to Learn:
3 different methods for adjusting patterns for projector sewing
Our favorite approach for making pattern adjustments
Which digital software we recommend to adjust patterns for projecting
Projector sewing is taking the sewing community by storm. If you haven’t heard about it check out this blog post here where we break down what it is, and how to get started!
But if you are already using a projector for sewing, chances are you may have had an experience where you needed to adjust your pattern, but because you use a projector, you have felt stumped… Projector sewing skips the paper pattern altogether and goes straight to cutting out the fabric, which is a huge time saver, but it provides a unique challenge when needing to make adjustments to the pattern… So what can you do? In this blog post, we will provide a few different approaches to adjusting your pattern for projecting, and our top recommendation!
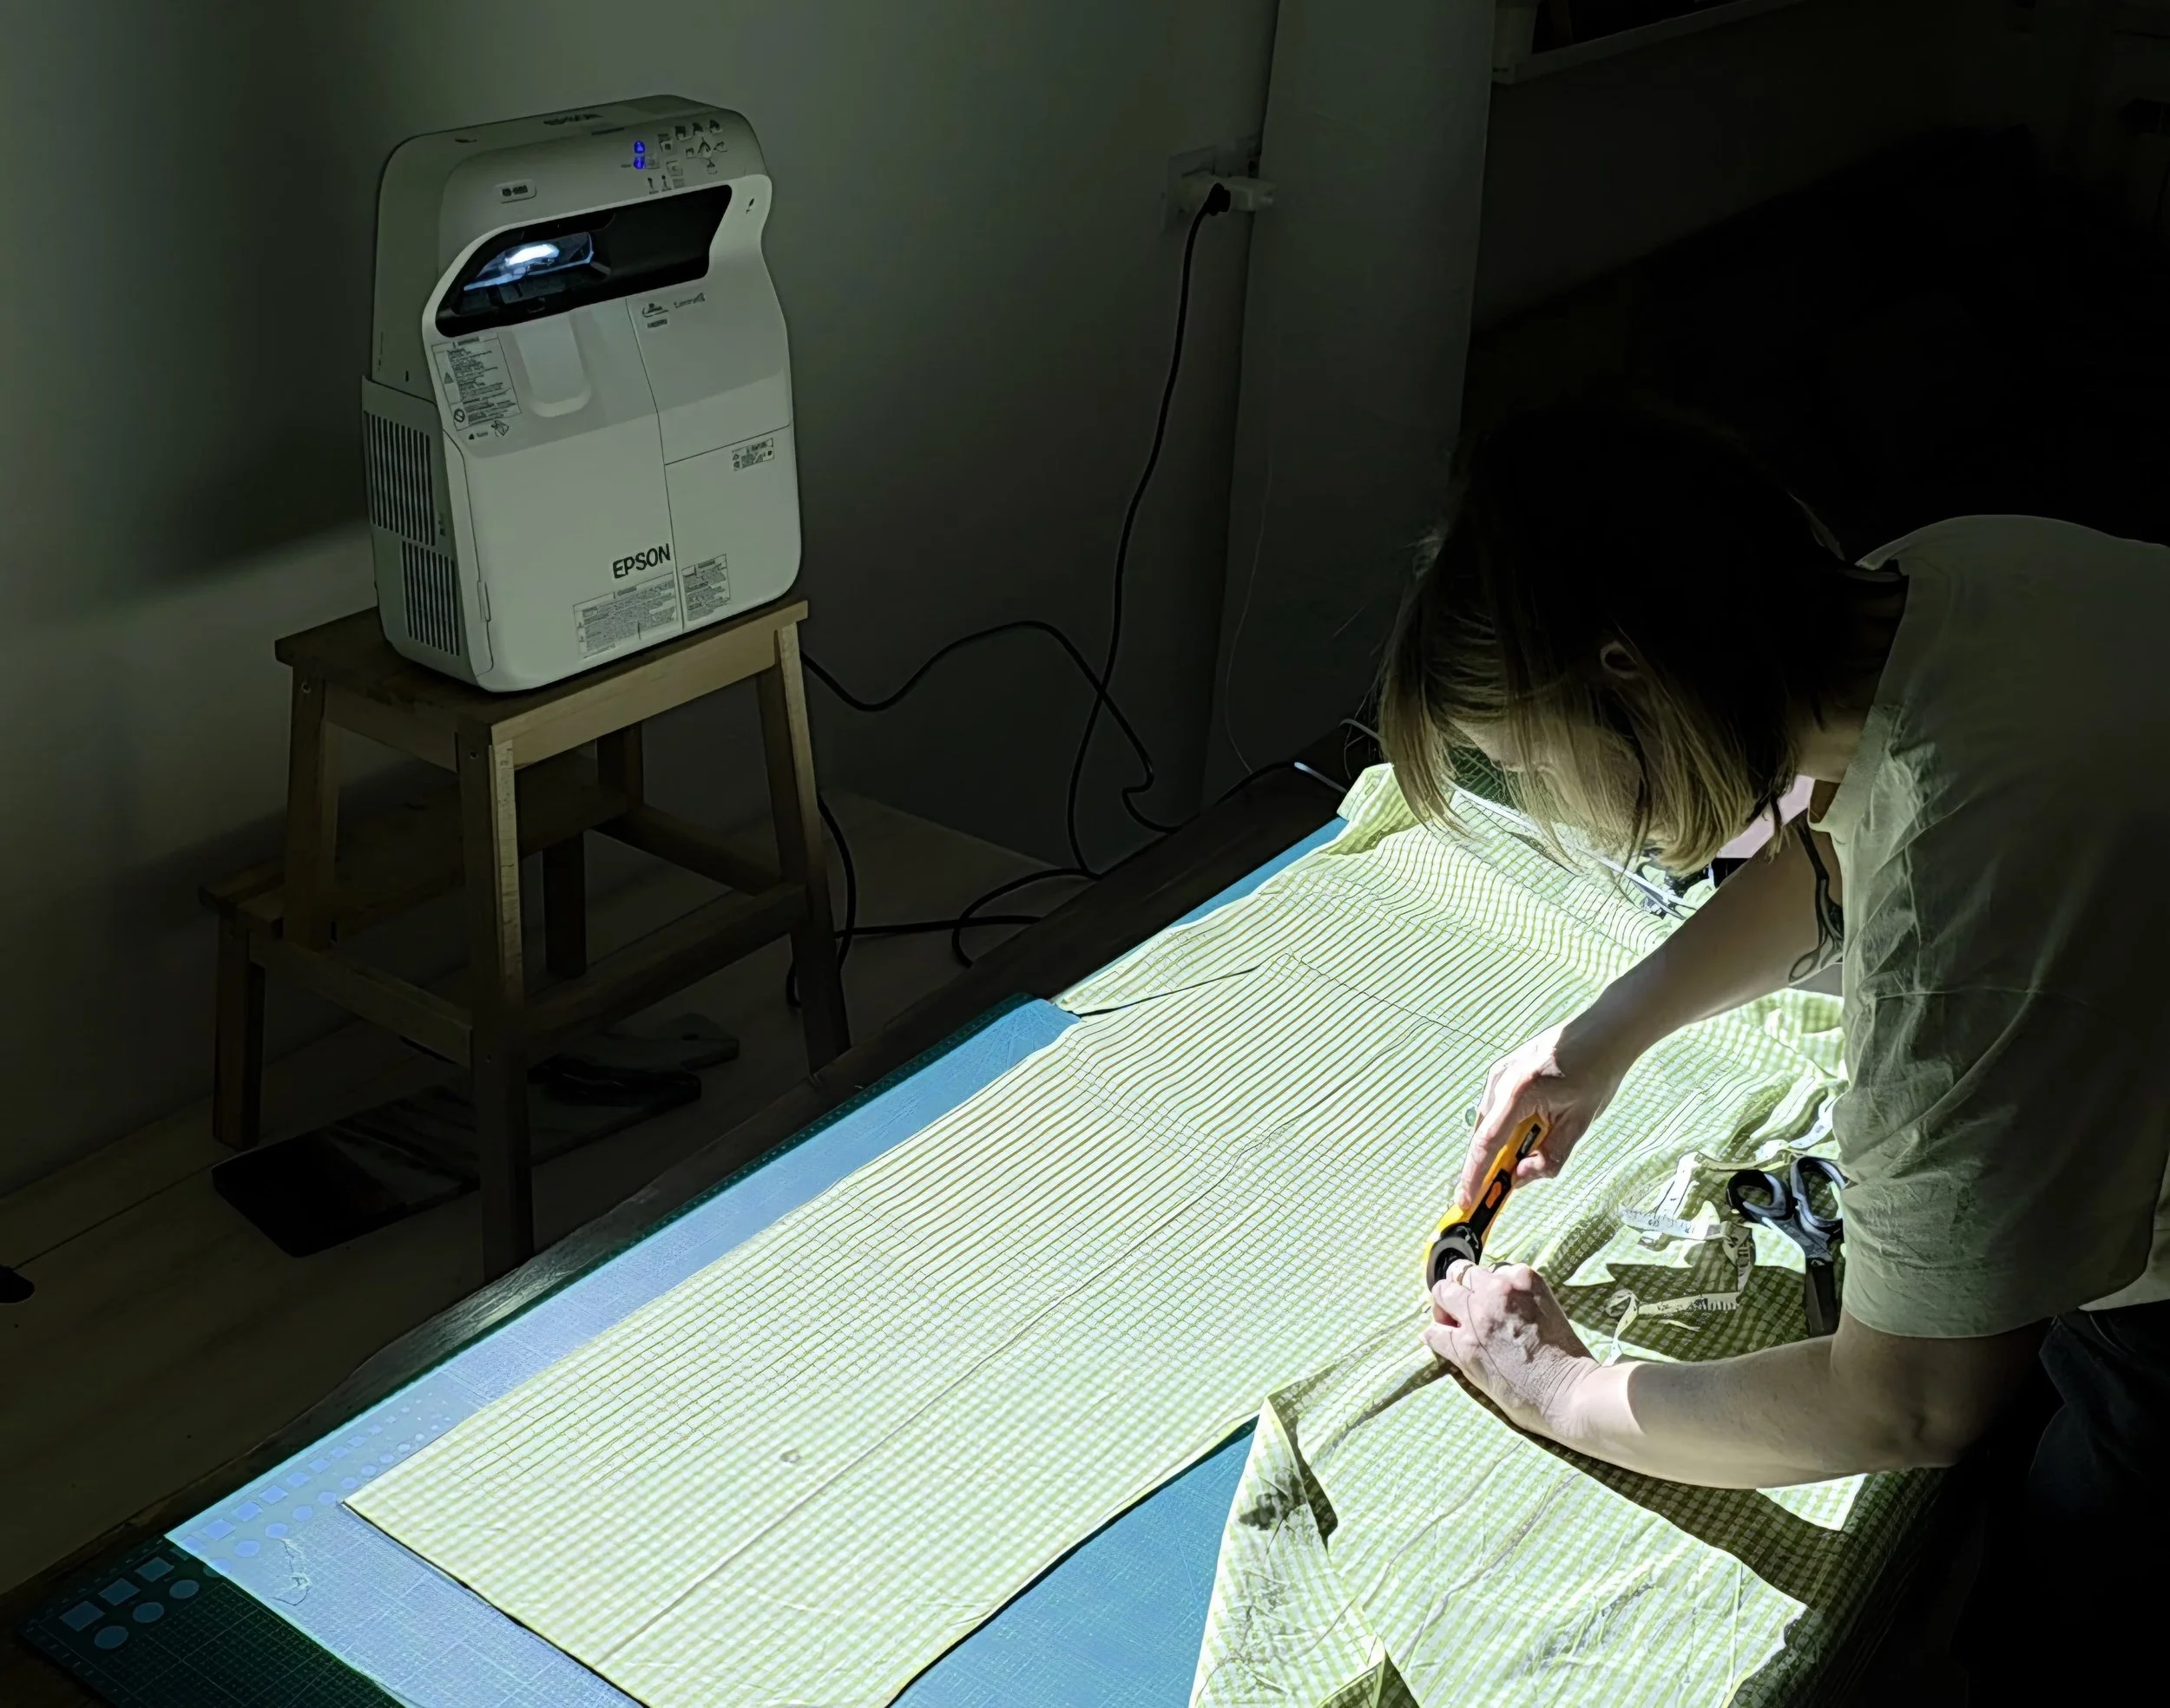
Option #1: Project on to paper first
One simple workaround is to project your pattern onto tracing paper. This allows you to skip the step of printing and pasting while still arriving at a paper pattern. This option allows you to make necessary adjustments to the paper pattern, and cut out your fabric after the adjustments have been made.
To do this you will need wide tracing paper or scrap paper. Bienfang 36” wide tracing paper is a great option for this, but if you are in a pinch you could use paper grocery bags taped together!

Lay down your paper on your table or surface you are projecting on to. Make sure to calibrate and ensure that the scale of your pattern is accurate first. We like to use Patternprojector.com to help with calibration.
Next, place down some pattern weights so that your paper doesn’t slide out of place as you trace. Then, trace off each pattern piece. Make sure to include the grainlines, notches, and any important pattern information (cut information, pattern labeling, etc.)
From there, you can adjust your pattern pieces as you would a typical paper pattern. We always recommend to make a toile first, and then make changes based on what you are seeing in your first sample. However, you don’t have to wait to make changes, you can adjust the pattern before you even make your first version. (Keep reading to learn more about this).
OPTion #2:Wing it and adjust as you go
If you are not a perfectionist, this might be a good option for you. This method only allows you to make simple adjustments ahead of time (like adding length to a hem). More complex adjustments, like a full bust adjustment, won’t be possible for this method.
For this approach, start by projecting your pattern on to your fabric and cutting out as normal. You could opt to size up one size, or cut lengths a bit longer than normal to give yourself extra room to make adjustments later. After cutting out your pieces, you will sew as normal; however, at each step you will want to try the garment on, and then take in if necessary, or adjust as necessary.
While this approach can work well for simpler garments, it is not our recommended method because it is not very accurate and hard to replicate. If you create a garment using this method, it will often be hard to tell what changes you made to the pattern, unless you keep a really detailed log of all the changes you’ve made. And if you want to make the same garment again, you will be forced to go through the same lengthy process of adjusting as you go.
Option #3: digitally Adjust
Of course we saved the best for last! The most streamlined way to approach adjusting patterns for projector sewing is to start by digitally adjusting the pattern using an online software of your choosing.
When you digitally adjust your pattern, you save time and resources (no paper or tape necessary). And you can keep a detailed log of changes you’ve made to your pattern by easily saving and labeling your different versions. You can also be much more accurate when digitally adjusting because you are able to swiftly measure line segments and move levels up or down using digital tools, rather than relying on scissors and a tape measure.
Our favorite software to use is Adobe Illustrator, though there are many different software programs available to adjust your patterns. You can find more on that in this blog post.
If you are ready to learn the magic of digital adjustments, take a look at our mini course - Perfect Fit Toolkit!

In Perfect Fit Toolkit, you’ll learn the essentials of pattern adjustments, how to use Adobe Illustrator to adjust any pattern, and practical strategies for adjusting using finished measurement charts.
In this course, you’ll learn to think like a patternmaker. We teach you how to spot and anticipate the adjustments you’ll need before you print or project—saving you time, fabric, and frustration.
FINAL THOUGHTS
Adjusting patterns for projector sewing doesn’t have to slow you down. Whether you prefer tracing, improvising, or going fully digital, each method has its place depending on your project and your comfort level.
If you've ever wished you understood why something isn’t fitting quite right—or you’re tired of guessing your way through adjustments—Perfect Fit Toolkit gives you the skills and the mindset to solve fit issues at the source. You’ll learn the techniques professional patternmakers use every day, and walk away with tools you can apply to every pattern you sew from here on out.
If you're ready to create garments that fit beautifully from the very first cut, we’d love to have you in the course.
Nat Della Selva


You may also like ⬇️