
Debunking The Myth that Grading for Plus Sizes is Harder, And how to Grade for Extended Sizes

Keep Reading to Learn:
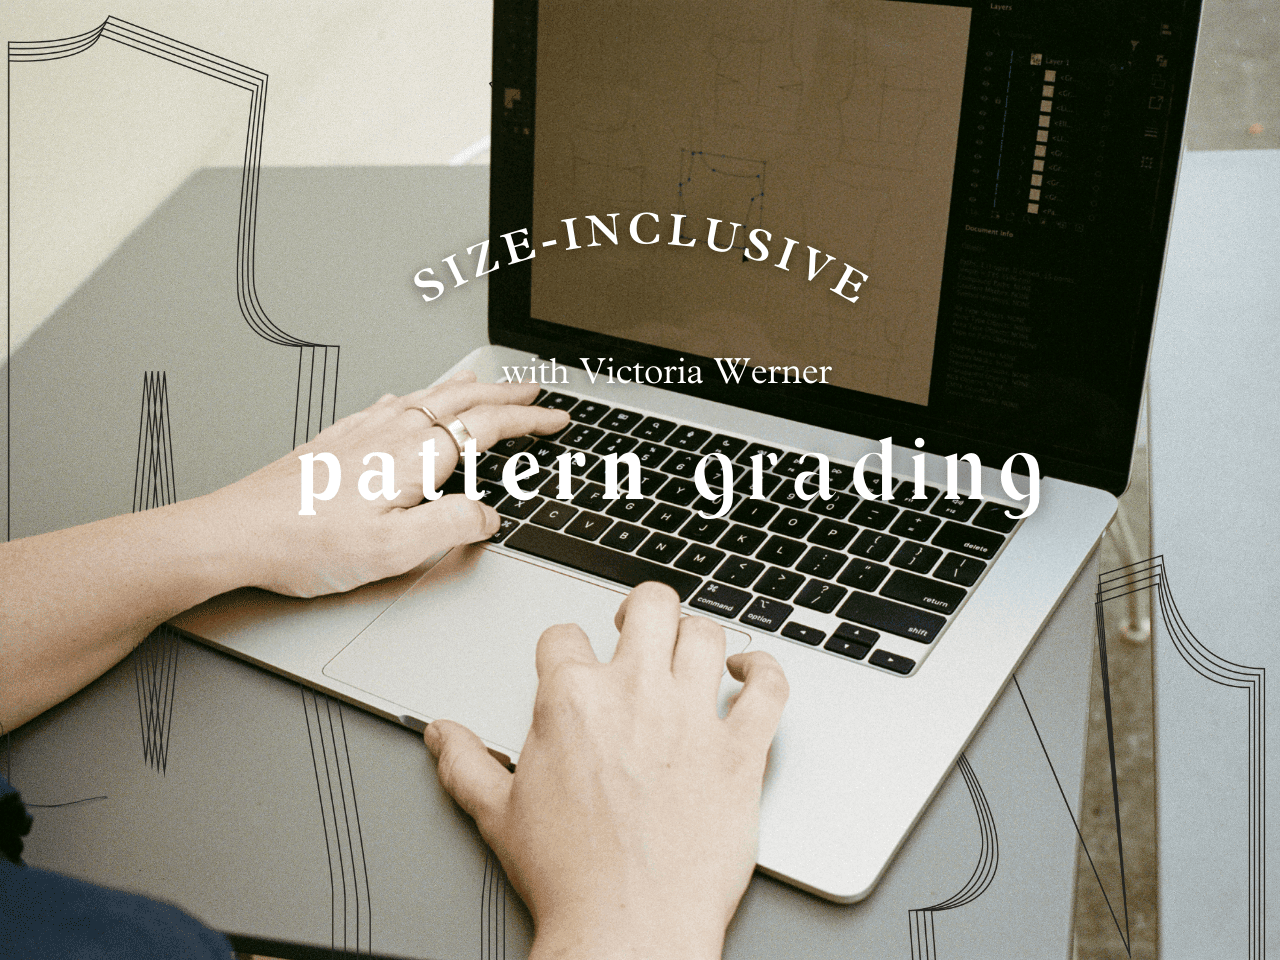
What makes our pattern grading method different
Why digital pattern grading is the key to a size-inclusive size range
How fit testing ensures beautifully fitting patterns (and saves you headaches later!)
It’s 2026, and electric cars, flying humans into space, and robots are all reality. But somehow size-inclusive sewing patterns are an exception to the rule…
Most pattern grading courses/books/teachers will tell you that grading for plus sizes is hard to do. Most will say that its expensive, time-consuming, and they just don’t have the skills to teach you. You will probably need to go to Fashion school to figure that out, and it might not be worth your time and money.
But today we are calling BS on this. At Confident Patternmaking, we believe that sewing beautiful garments shouldn’t be out of reach for anybody—no matter their size. That’s why size inclusivity is built into the foundation of the grading method that we teach in our Size Inclusive Pattern Grading (SIPG) course. We don’t have you stop at a size XL and add more sizes later. Not a chance! From the very beginning, our students learn to develop size-inclusive size charts that truly represent a wide range of makers.
So the question remains, if we say it is part of our foundation, what makes our course and foundation so different from everyone else?
The method
Many grading courses and grading textbooks are built upon a standard method called “slash and spread”. This concept involves dividing your base size into multiple sections and then spacing them apart by a set amount. Once you have your Frankensteined pattern, you are then required to trace off the new exterior, smoothing out the curves. This is all before you true every single size to ensure that your seams match, and your curves are neat and continuous across all pattern pieces.
Sounds exhausting, right? Now imagine doing this process 18+ times for a size inclusive pattern range! I would think it was impossible too, if that was the method I was using.
To make matters worse, most grading resources use standard grade rules that seem to appear out of thin air. You might read that “the shoulder increases by ¼ inch per size,” but where does that number come from? You’re often left guessing, trying to adjust things to fit your own size chart—without understanding the reasoning behind the math.
Our method is different.
Starting off, we do not use the slash and spread method. We instead assign points to the outer edges of all pattern pieces that relate to actual body measurements. These points are then moved along an X,Y grid, allowing you to see exactly how the pattern grows or shrinks. Because we teach digitally, the process is clear, fast, and consistent.
Our grading worksheets use percentages instead of fixed numbers—meaning your grade rules are based on your custom size chart, not someone else’s. This system adapts to your brand, your audience, and your goals. It also helps you understand why the numbers work, not just what they are. Every rule we teach was carefully developed and tested by Victoria Werner, the creator of Confident Patternmaking, across a wide range of body sizes.
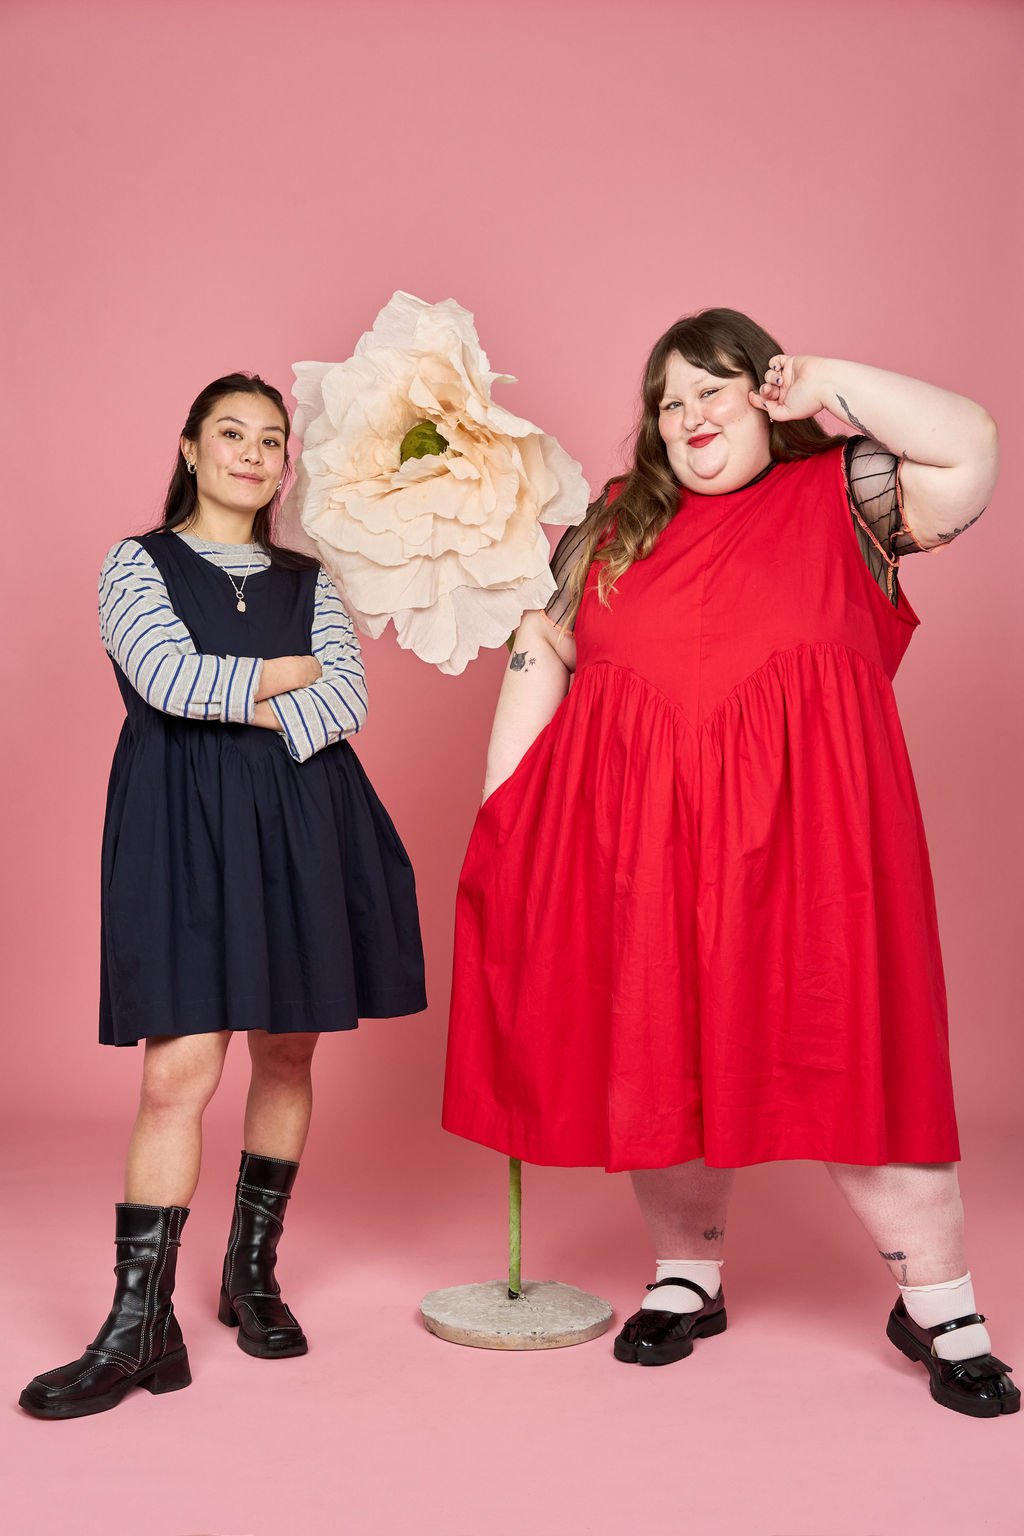
Petal dress from Soft Bodies Studio seen above, (photo by Kayla Isomura), available in sizes XXS-7XL.
But don’t just take our word for it—see the incredible size-inclusive indie sewing patterns created by our graduates here.
Why We Teach Digital Pattern Grading
One of the most striking aspects of our method is that we teach digital pattern grading using Adobe Illustrator. When you grade manually (grade by hand) it takes a painstaking amount of time, and adjusting one small measurement can mean redoing everything by hand. It requires an insane amount of calculations and brain energy. But with digital grading, you can use Illustrator tools like the Blend Tool and Move dialog box to make instant, accurate adjustments across your entire size range.
This digital workflow not only saves time—it makes grading more precise, less stressful, and way more fun. You can see the magic of the Blend Tool in action here.
Fit testing on real bodies
When you create sewing patterns for real people, it’s essential to test them on real bodies. You might be surprised to learn that not all sewing patterns are tested before they’re released—but we believe this step is non-negotiable.
Fit testing helps identify the small, real-world issues that grading alone can’t catch—like a tight pocket opening, a gaping neckline in larger sizes, or a back rise that needs a tweak for comfort.
At Confident Patternmaking, fit testing is built into our process. We recommend testing at least the smallest, middle, and largest sizes to start. Then, once your grade is refined, you can expand testing to include every size before launch. This ensures your final pattern fits beautifully across your entire size range—and gives you confidence in your work.
FINAL THOUGHTS
Grading doesn’t have to be confusing, time-consuming, or reserved for “experts.” With the right method, digital tools, and testing process, you can create size-inclusive patterns that truly fit—and make a difference in how people experience your designs.
If you’re ready to learn our complete digital pattern grading method, join us in the Size Inclusive Pattern Grading (SIPG) Course. You’ll gain the knowledge, worksheets, and support to grade confidently, digitally, and inclusively—from your very first pattern.
Nat Della Selva


You may also like ⬇️


